Showing posts with label You Can Folk It. Show all posts

Tuesday, 3 July 2018

10 painting projects to inspire you


Well another month has flown by and so has another monthly theme for our #funwithfolkit challenge.  When we posted our first Flora and Fauna themed project, we never expected it would be as popular as it was, getting thousands of views within the first week of being posted.  If you haven't seen it yet, why not pop over to the blog post here for a look. 

It seems that there are two camps for these challenges, those that love incorporating the themes in to their Folk It designs and those that run with it to create their own unique ideas.  However you interpret them, we love them all.  Here we have rounded up our favourites for the month of June.  


Inspired by Cath Kidston, we love Jackys version - complete with You Can Folk It's Vintage Roses and ladybirds

Jacky from Chloe and Kato recently rediscovered her painting mojo and created this beautiful spray of daisies and roses - inspired by her favourite mug! We have to say though, it is definitely cuter with a few ladybugs. 


Fabric painting from Jackie - such a beautiful scarf and our Sunflower design looks great against the blue fabric

Painting on fabric takes practice, painting on silk is a labour of love but Jackie from Jacbnimble Crafts has done brilliantly creating this scarf for her friend.  

Jaxs used our Butterflies and Vintage Rose painting kits to decorate these pretty pots #giftidea #folkart

Jaxs from Vintage Crafts by Jax has created these gorgeous purple plant pots using our Butterfly and Vintage Rose kits.   By using a limited colour palette she has created a beautiful set of gifts that really stand out.  

Beautiful Vintage roses and cute bees! We love it!

The lovely Folker from At the Painting Table has got creative to add the cutest bees to these delightful yellow roses - the perfect painting project for summer


Painted dragonfly - decorated using You Can Folk It's Round Brush Starter kit

Vanessa has found this lovely dragonfly shape to decorate for the Flora and Fauna theme.  Dot daisies, dot roses and other dot patterns, it's got it all!

Vintage roses in a variety of fun colours inspired by wildlife - such a unique idea.

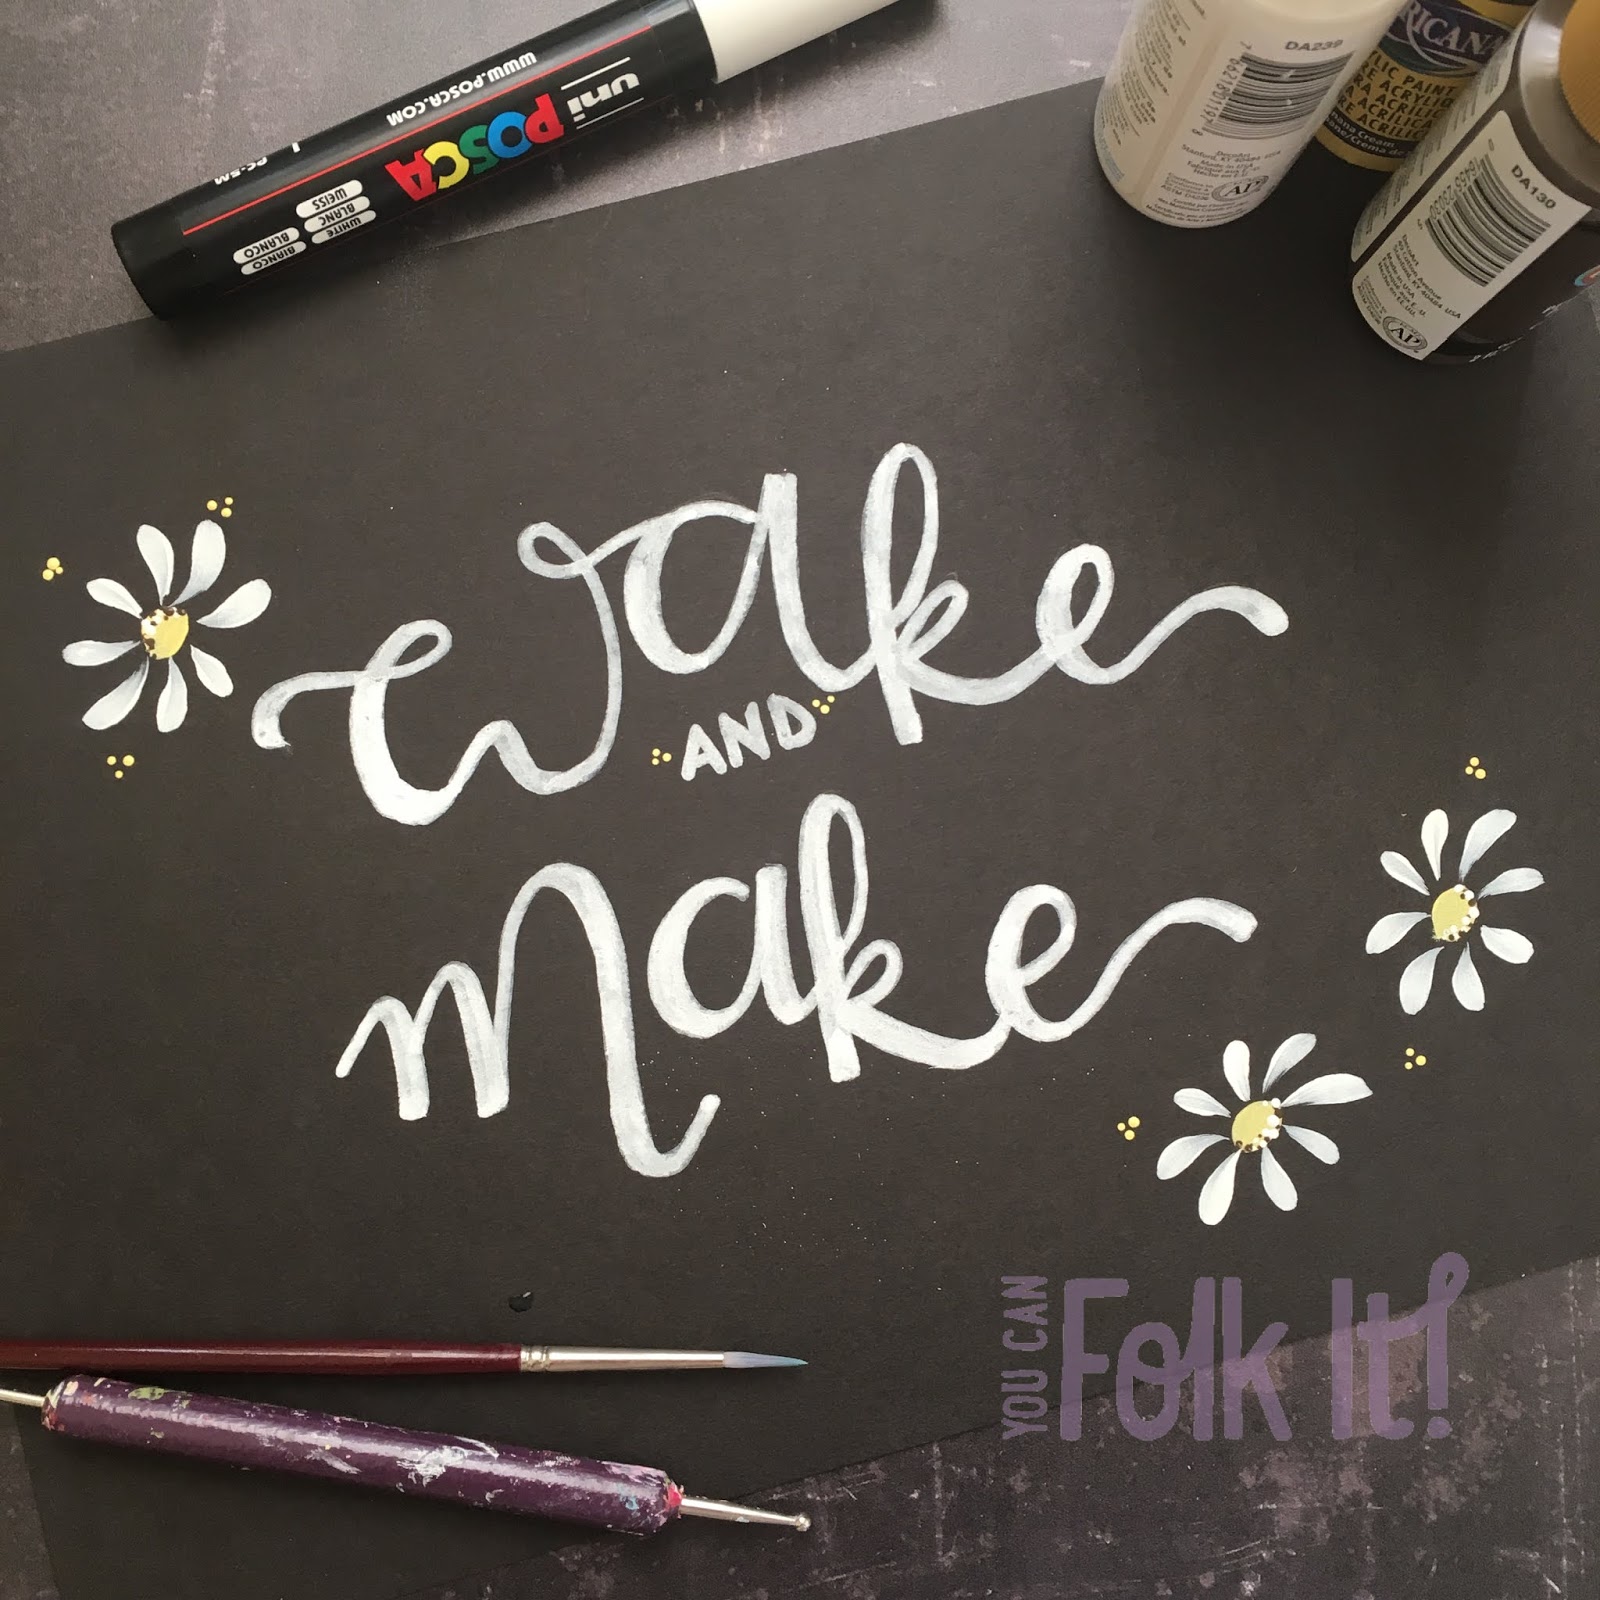
Stepping away from shapes and projects, Helen has used the Flora and Fauna theme to inspire her colour choices in her practice pages...what a great idea.  

Sandra from You Can Folk It designed this dragonfly project for our #funwithfolkit painting challenge.  She combined our Delicate lace design and dot patterns to complete the project.

Sandra felt inspired after creating our Bee tutorial to create a different project.  Featuring a unique Dragonfly design on the lid, she added a few dot daisies and vintage lace to the box to complete it. 

This wooden duck from Nazlie is just stunning. Decorated using our Vintage Rose painting kit

These ducks are so popular at the minute with crafters.  Using a French blue base coat and our Vintage Rose kit, Nazlie from Cositas Bonitas has turned this into a real centrepiece. 

Freestanding wooden decorations are great to decorate with Folk It painting kits available from www.folkit.co

Who would have thought a Folked up owl would look so pretty! Helen from Mindful Crafts used our popular Round Brush Starter kit to decorate this owl beautifully.

Vikki fell in love with her You Can Folk It Starter Kit and started getting creative - she creates such great designs with her dotting tool.

Vikki discovered our stand and our kits at the Handmade Fair and she's been hooked ever since - we love the original and unique designs she has been creating with her dotting tool and this Dragonfly design worked perfectly for June's theme! 

So as we head in to July, this month in our #funwithfolkit painting challenge, we are concentrating on wreaths.  Whether they are dotty or festive, floral or not, we can't wait to see them all! 

Happy Folking! 


SHARE:

Wednesday, 20 June 2018

Our top ten creativity quotes


We love a good quote - when you haven't got the words to explain why we do what we do, when we need the right dose of motivation or when we need to bring a smile to our face, there is a quote for every occasion.  

Here, we have put together our 10 favourite quotes, about crafting, creativity and of course, painting. Of course there are so many more fab quotes out there, we have a whole board dedicated to them :)


Enjoy a different kind of happiness with art - the benefits of art #quote

Whether it is strolling round a gallery, painting and creating or visiting the theatre, art calls to us in a way that nothing else can. 

Allow painting to distract you from every day life and focus on something beautiful #quote #mindfulness

We love painting for the way it allows us to escape our thoughts for a while. 

Wake and make - enjoy the creative way of life #quote

Once you let yourself get creative, it becomes a way of life 

Painting makes us happy, we are happiest when we paint #quote #craftquote

It is a cycle - when we paint we feel happier.  When we are happy, all we want to do is paint :) It's not about the project we create, it is about the process - about zoning out and getting lost in a little creativity. 


Ever been to a Craft Fair or shop and thought this? Yeah, us too ;) 

Weekend forecast...no housework 100% crafting! #craftquote #quote

Every weekend..... 
We have priorities after all! 

What mess? this is creative freedom #craftquote #creativity #quote

There's no such thing as mess when we are being creative! 

Makers gonna make and we have to paint  #craftquote #quote

It's not a choice...its a must!

Paint is only wasted when it stays in the bottle #quote #crafting #painting

Don't leave your paint in the bottle! Paint is made to be used...the only question is what will you create

if only! #quote #crafting #painting

If only! 


SHARE:

Friday, 26 January 2018

10 reasons why we all should be painting

why we should paint

Children are encouraged at nursery and school to create - to explore their environment through play and art, using whatever medium they choose (often the messier the better!) but as we age, we often forget the importance of creativity, we find excuses to ignore our hobbies because of demands on our time or because we have told ourselves (or have been told)
we are not creative.  As we seemingly move away from art in education and as we get busier, it seems more important than ever to nurture the creativity within us all.  If we ever needed any reasons to open up our painting kits and get started, they're all here! 


1. It improves motor skills.  All the time you are holding the brush (or dotting tool!) the muscles in your fingers are exercised and strengthened - all while doing something you enjoy. 

Happiness, creativity, painting, quote, find your happiness, folk art

2. It creates an outlet for emotions you may find it difficult to express verbally.  Studies of stroke patients have found that it can create more positive emotions and reduce depression. Being able to communicate through colour, pattern, brushstrokes and texture can release emotions in a healthy way. 

3. It can help boost self confidence. Learning a technique, mastering a brushstroke, finishing a project you are proud of can all lead to a sense of accomplishment and pride.  

Look up but never give up, quote, motivation, words to live by

4. It develops your levels of persistence.  When your brushstrokes aren't flowing as they should or a painting project doesn't turn out the way you would like it to, you become determined to rectify that.  As a result it not only increases your level of patience but it can help build your problem solving skills. 

5. As we imagine and think about our painting projects, plan our colour schemes and recall techniques and past projects, it can all help boost our memory and sharpen our minds.  Studies into the benefits of painting for individuals with Alzheimers have found that it can help them recall better, boost their imagination and strengthen their memories. 

6.  It lowers our stress levels.  Engaging in art gives us something to focus on other than our problems and worries and gives us the chance to engage in a spot of fun and feel good for a while.  

Creativity leads to creativity. quote, Maya Angelou

7. Creativity increases creativity. People often make the decision or are told that they aren't creative from a young age but just by engaging in a spot of painting strengthens everyones creative skills. Painting triggers our dopamine levels (the neurotransmitter that helps regulate our emotions and when it spikes, it creates the feeling of pleasure) and it engages both sides of the brain as it gives our brain the equivalent of an aerobic workout. 

8. It helps develop an optimistic attitude.  Every painter or artist will set themselves goals - to learn a technique, paint a design or create a specific project.  Once they reach that goal and improve their skills it increases their confidence and helps them feel more optimistic and positive of what they can create in the future.

9. You become more observant of the world around you. As you begin to paint shapes, colours and patterns you will start to search for and look for these within our surroundings. As your concentration improves thanks to your creative pastimes, you will notice the details that surround you that passed you by before. 

10. It helps us have fun. Through painting, we can laugh, learn something new and socialise with others. In addition, when we create, when we paint, we connect with others who enjoy doing the same. We share ideas, encourage others and we inspire - whether it is in person or online. There is nothing better than a creative community! 

Find something you love and do it forever, quote, inspiration

We don't know about you but we are convinced (more than ever!) that painting is so good for our mental, physical and emotional health. If you would like to share how you feel painting has changed your life, feel free to get in touch and share your story.  

Here's to creativity! 

The You Can Folk It team xx 
SHARE:

Friday, 19 May 2017

6 creative DIY planters for your summer garden


Whether you have a home full of plants and flowers or a small outdoor space with only room for a few small planters, adding colour to your home is so worthwhile after a dark and grey winter.  We have put together 6 creative ideas to help inspire you. Whether you wish to fill your planters with flowers, succulents or herbs, create a display that will make you smile. 

DecoArt chalky finish paint is fantastic for base coating projects as the surface needs no preparation and there are a wide variety of colours - even more once you begin mixing.

For each of our pots, we chose to base coat them with DecoArt Chalky Finish paint.  For some we used the colour straight from the pot, for others, we mixed our own custom colour for our pastel theme. 


Once the pots were dry, we used the paints from our Series 1 and Series 2 Starter kits to add each of the designs from our add on ranges.  At Folk It, we begin by teaching you dotty designs from our Starter kits before we move on to teaching you brushstrokes to create the designs (like our bluebirds above) in our 'add on' lessons.  The beauty of Folk Art is that it is a skill based art, a skill anyone can learn just as anyone can learn to write.  With patience and practice, each and every one of us can paint these brushstrokes whether we believe we are creative or not.

Our Series 1 pots 

Using DecoArt Chalky Finish and You Can Folk It Series 1 Starter and Daisy details kit, we created this beautiful planter perfect for any home.

Our gorgeous Daisy pot was first base coated using a mix of DecoArt chalky finish in New Life and Everlasting, both from our Colonial colour set.  Once dry, we painted our Daisies on using the templates and techniques from our Daisy Details kit and art supplies from the Starter kit.  Add the stalks and leaves using Hauser Light Green and the liner brush.

Whether you use this pretty pot to hold a beautiful gardening gift or your favourite plant, it will be loved. Decorated using DecoArt Chalky Finish and bluebirds from You Can Folk It's Series 1 painting kits.

To create our next pot, we used the beautiful yellow shade 'Delicate' from DecoArt.  To decorate our sunny Bluebirds planter, we first added a border of dot daisies and hearts from our Series 1 Starter kit using Baby blue and Warm White (full instructions are included in both the instructional booklet and the DVD).  Next, using the comma strokes taught in our add on kits, we painted two bluebirds either side of the pot and added a simple heart between them.

Basecoated in beautiful blue and decorated using traditional Folk Art techniques taught in the Delicate lace painting kit from You Can Folk It

This pot has been getting so much love across our Social media channels! This pretty planter was first painted in 'Serene', a beautiful place blue from the chalky finish range.  Using our liner brush and the techniques we teach in our Delicate Lace kit, we added detail around the top of the pot because sometimes simple is the best.

Our Series 2 planters 

Update any home or garden with this beautiful blossom covered pot decorated using the step by step painting kits from You Can Folk It

It is no secret that our favourite colour within the chalky finish range is 'Vintage' so of course it became the base coat for our gorgeous Oriental Blossom pot. Using the templates and techniques from this add on kit, we were able to paint these pretty flowers on to both sides of the pot, perfect for Spring or Summer don't you think?

Learn how to paint these beautiful butterflies using the step by step painting kits from You Can Folk It

We created this warm, pastel orange by mixing Everlasting with a smidgen of Delicate and dash of Smitten.  One helpful tip when mixing your colours is to make a note of the ratios you use, paint half a lollypop stick with the shade and make a note of the paints you've used.  You may only use it once but just in case you wish to use it again, you will then build up a colour reference tool you can refer to again and again.  We added two fluttering butterflies here using white and the fabulous Plum colour provided in the Series 2 Starter kit.  

Learn how to paint pretty rosebuds using the step by step painting kits from You Can Folk It

Another custom colour, we created this by mixing the dramatic 'Victorian' with 'Everlasting' both from our Heritage colour collection.    To compliment this beautiful shade, we blended our Plum and Titanium white from the Series 2 Starter kit to create the rosebuds around the top of the planter.  For the leaves we mixed a pale green using the Avocado and Titanium white, again from the Starter kit.  

To complete the pots, we finished with two coats of DecoArt Ultra Matte Varnish to protect these beautiful planters.  We chose this varnish specifically, not only because it is water based but because it maintains the matte look of the chalky finish paint we used.  

There you go. Six beautiful ideas to inspire your summer garden.  The beauty of these designs and our kits is that once you have learnt the techniques we teach you in each one, you can mix and match the designs to create a unique project that you love.  Which planter are you itching to recreate? We'd love to hear your comments and thoughts.  As always if you have any questions about these projects we are happy to help.  

Happy Folking x 


SHARE:

Wednesday, 29 March 2017

How to paint on slate the right way

Paint on slate - how to tutorial

If we were to tell you the most common questions we get asked here at You Can Folk It, it would be how to paint on to different surfaces.  Within our kits, you receive the materials that are best for beginner projects, mount board and wood.  We chose these because they require no preparation beyond base coating and they are a delight to paint being small, manageable (thanks to the flat, smooth surface) and easily replaceable should you be unhappy with the finished result (though we have never met a customer yet who doesn't love their first project).  

Our recent tutorials have given you step by step instructions on how to paint on to plastic and glass objects that are often available and begging to be reloved instead of being thrown away.  However, what about slate? There are so many different slate products in the high street at the moment, from notice boards to coasters, placemats to photo frames.  With their rustic look and hand crafted appeal, they make the perfect addition to any home.  


So, if you want to add a few hand painted details, what do you need to know? 

1.  As with any surface, to help the paint adhere to your project as much as possible, you need to make sure that your surface is clean and free from dust and dirt.  You can do this by simply wiping down the surface with water and a lint free cloth.  

2. Being a porous surface, to paint on to slate you do not need a primer as the paint will adhere to the surface easily.


3. You can base coat your slate if you wish.  To create a matte finish similar to the natural slate, choose a beautiful shade of Chalky Finish paint.  
4. Plan your design around your surface. The natural characteristics of slate means there may be areas that you would not be able to add designs as easily as you hoped.  Think about this when you are designing your patterns.  

5.  As slate can be easily scratched, in order to protect your project from signs of wear and tear, the best way to finish it is to apply two coats of varnish.  Even though you are varnishing your project, there is no need to compromise on the matte finish.  Seal your slate using two coats of DecoArt Ultra Matte Varnish and leave to dry.  

Please note: We recommend leaving your project to cure for a few days before using them.  While paint and varnish can feel dry to the touch, they need a few days to cure completely.  

Happy Folking, 

Carol x 


SaveSaveSaveSave
SHARE:

Wednesday, 15 February 2017

5 benefits of learning to paint


It's true that the world of crafting has enjoyed much more attention in the last few years; maybe thanks to celebrities like Kirstie Allsopp and maybe thanks to the economy. It is certainly true that many crafters have embraced the up cycling trend as we begin to think outside the box instead of buying what we need straight off the shelf.

While many dabble with paper craft and card making, some delve in to baking and others decide to try their hand at sewing, many are often hesitant to learn to paint.  At each show we do, we hear so many people saying 'Oh I couldn't possibly paint' followed by their exclamations that they haven't got an artistic bone in their body...they failed art....they were told many years ago they were just not good enough. The list goes on.  The thing is, we are no strangers to these excuses, we've all said them but it made us wonder, why do we persevere? Why should we learn to paint? In all honesty, there are so many reasons why we should get out of our comfort zone and create but here are our top 5 reasons why we love to Folk It!


1.  It takes us away from the 'real world' When we paint, whether it is with our dotty tool or paint brush, we relax.  We don't have space to worry about the other things that are going on in our lives because we are busy concentrating on creating beautiful patterns or improving our brush strokes. There is no better feeling of 'being in the flow', that wonderful state where the hours seem to fly by.  We are not surprised when we hear that scientific studies have found that learning to paint can help us feel calmer, alleviate depression and keep our brains sharp.  For Folk It founder Carol, it is a form of meditation, a way of relaxing and even after 20 years of painting, she says there is no better feeling than the satisfaction and sense of accomplishment that comes with painting a new design or completing a new project.

2. It allows us to re-discover our creative side.  For children, being creative is part of their daily lives but as we grow up, it becomes harder to hold on to that creativity.  Whether the enemy of creativity is outside (family, an unsupportive teacher or a friend) or within us (the critical voice that often seems to get louder the more we try to do something for ourselves), by the time we reach adulthood, we've often lost or damaged that creative part of us.  Being creative can help us become creative in other areas of our lives - to think outside of the box, to solve problems easier, to see the lighter side of life.

3. It helps co-ordination and dexterity.  Hand-eye co-ordination is so important and one of the activities children are encouraged to do when they are developing this skill is art.  By picking up a paintbrush or a dotting tool, it strengthens these abilities, improves these skills.  We love to hear stories from customers who have learnt to Folk It and found that it has helped them maintain mobility in their hands when they are struggling with medical conditions or that it has been a fun activity to help them rehabilitate their arms and hands after a stroke or accident.

4.  It is economical. Our main purpose for starting our Folk It journey was to teach people to paint, to help them realise that they can be creative...that it is not a magic skill only for a chosen few.  Once our customers got their hands on our kits however, they began to use our designs to breathe new life in to home decor they had fallen out of love with.  In a society where we are often looking for ways to be more frugal, You Can Folk It can help transform the most tired of possessions and personalise a gift.

5. It brings people together.  This is probably our favourite reason, especially in a world where many of us spend too much time on our phones.  There is nothing better than painting with a friend or loved one.  We cannot tell you how much we love our Ambassador courses because it is fantastic to see people inspiring each other.  Painting together starts natural conversation, stimulating learning and sparks so many ideas.  In an environment like that, you can't help but have fun.

Above all else though, learning to paint should never be taken too seriously.  The fantastic thing about Folk Art is that anyone can learn to master the skills with practice.  There's nothing worse than putting pressure on yourself for your work to be perfect straight away.  The fun is in the journey, the practice you do.  So grab your painting kits, get together with a friend, pop in the DVD and learn to Folk It.

Happy Folking,

The You Can Folk It team x


SHARE:

Saturday, 28 January 2017

Don't recycle....Upcycle


With the holiday season behind us, one thing that we have in our house (in addition to the lovely gifts we received) is lots of packaging; boxes, tins and jars that we cannot bear to throw away because they are too pretty, too sturdy and too useful to send to landfill.

In time's when we are always looking for ways to save a bit of cash, one of the best ways to save is to create your own storage.  This does not mean, however, that your DIY storage has to be plain, undecorated or boring.

This week, we have been making use of our old sweet tubs and taking inspiration from vintage hat boxes to up-cycle our first project, just for you. We loved the look of some vintage hat boxes we found that were covered in beautiful roses. Although we have just used our rose design, you could add some stencilling to add to the hat-box feel, though the stencil you use will depend on the size of your project.  


For this project, you will need: 

A tub of your choice 
Flat base coating brush

Choose your project.  A Haribo sweet tub or chocolate tub is perfect for creating up cycled storage

The first decision you need to make is to decide what you will be upcycling.  This is a great project for experimenting with painting on different surfaces, for example painting on curved surfaces is very different to painting on to flat surfaces.  If your project doesn't go to plan, it can still be recycled and it hasn't cost you any money. We chose a leftover sweet tub from our Christmas gifts that was just going to be re-cycled.  

The beauty of DecoArt Chalky finish paint is that you can paint straight on to the surface without fear of the paint flaking off at a later date.  However, one thing you will need to do before you begin painting is to wipe down the tub completely with a mixture of vinegar and water to remove any greasy fingerprints.  Any greasy fingerprints left on the surface will prevent the paint from adhering to the surface.  


Once you've decided which shade of Chalky Finish paint you would like to use, begin painting the tub using a flat brush.  Be sure to cover every inch of the tub with the paint.  


1. Once the Chalky Finish base coat has dried, using your finger or, cloth or old brush apply Rose Gold Metallic Lustre around the lid.  Tip: if your lustre has hardened, put a little water in the jar, screw the lid back on and leave for a couple of hours or overnight to soften.  

2. Using the patterns, randomly place roses around the edge, alternating between 1 rose, 2 roses and 3 rose clusters.  Tip: to make it look more professional, trace a few of the roses off the edge as Carol has done here.  Next trace the larger cluster in the centre of your project, or in this case, the lid. Note: the patterns should print at the correct size. 

Next fill in the roses using your round brush from the Series 1 Starter kit as instructed on the Vintage Rose tutorial DVD. For this project, Carol used DecoArt Americana Naphthol Red. However, you can create a similar shade by mixing our Series 1 Tomato red with a bit of Lamp black, also from the Series 1 kit.  (To learn more about mixing colours, click here). 

3. Using Avocado green from the Series 2 kit, add the leaves following the tutorial from the Vintage Rose DVD.  Tip: If you do not have the Series 2 Starter kit, you could use the Hauser Light Green from our Series 1 Kit.  


Now you have the pattern to work with, add your comma strokes to paint your vintage roses, tipping your brush with Warm White - you can watch the full tutorial  on the DVD supplied in our Vintage Rose add on kit

Using your liner brush, add stalks to your leaves using Avocado around the tub.

Once you design is dried, using the warm white, add comma strokes using your liner brush. Finish by adding some 'filler foliage' this has been created by loading the end of the round brush with avocado and tipping the brush with white.

Leave to dry and apply a coat of Clear Creme wax using a round brush to protect your beautiful new  storage. You can either use it once it has dried or buff the wax with a soft, lint free cloth to create a soft sheen to your container. 


Happy Folking, 

Carol xx 

SHARE:
© You Can Folk It!. All rights reserved.
designed by pipdig