Showing posts with label Dot It. Show all posts

Friday, 23 September 2016

Go dotty for our brand new kits!

You Can Folk It Dotty Collection

 We've all been there haven't we? That place when you see something creative and automatically think to yourself, 'There's no way I could do that. I'm not artistic"  Some projects, some crafts seem so complex we think we would never be able to master them.  

Just as Kandinsky once said, “Everything starts from a dot” our gorgeous new collection of painting kits do just that.  Using nothing more than a dotting tool and dots of paint, each kit gives you everything you need to create not one but 6 gorgeous designs. 

Step by step, we want to help others re-discover the joy of creating.  Watch something beautiful emerge from a series of dots as you forget your worries and enjoy relaxing as you learn to paint.

What you get in each kit...

3 1oz bottles of Acrylic paint 
6 designs/pattern sheets to trace (there is no freehand drawing involved!) 
Full Colour, step by step instruction booklet 
A link to an Online lesson 
6 colour mount shapes - perfect for turning into gift tags, personalising books and journals or decorating gift bags. 
Transfer paper 
Dotting tool 

We passionately believe everyone should have to opportunity to create beautiful 
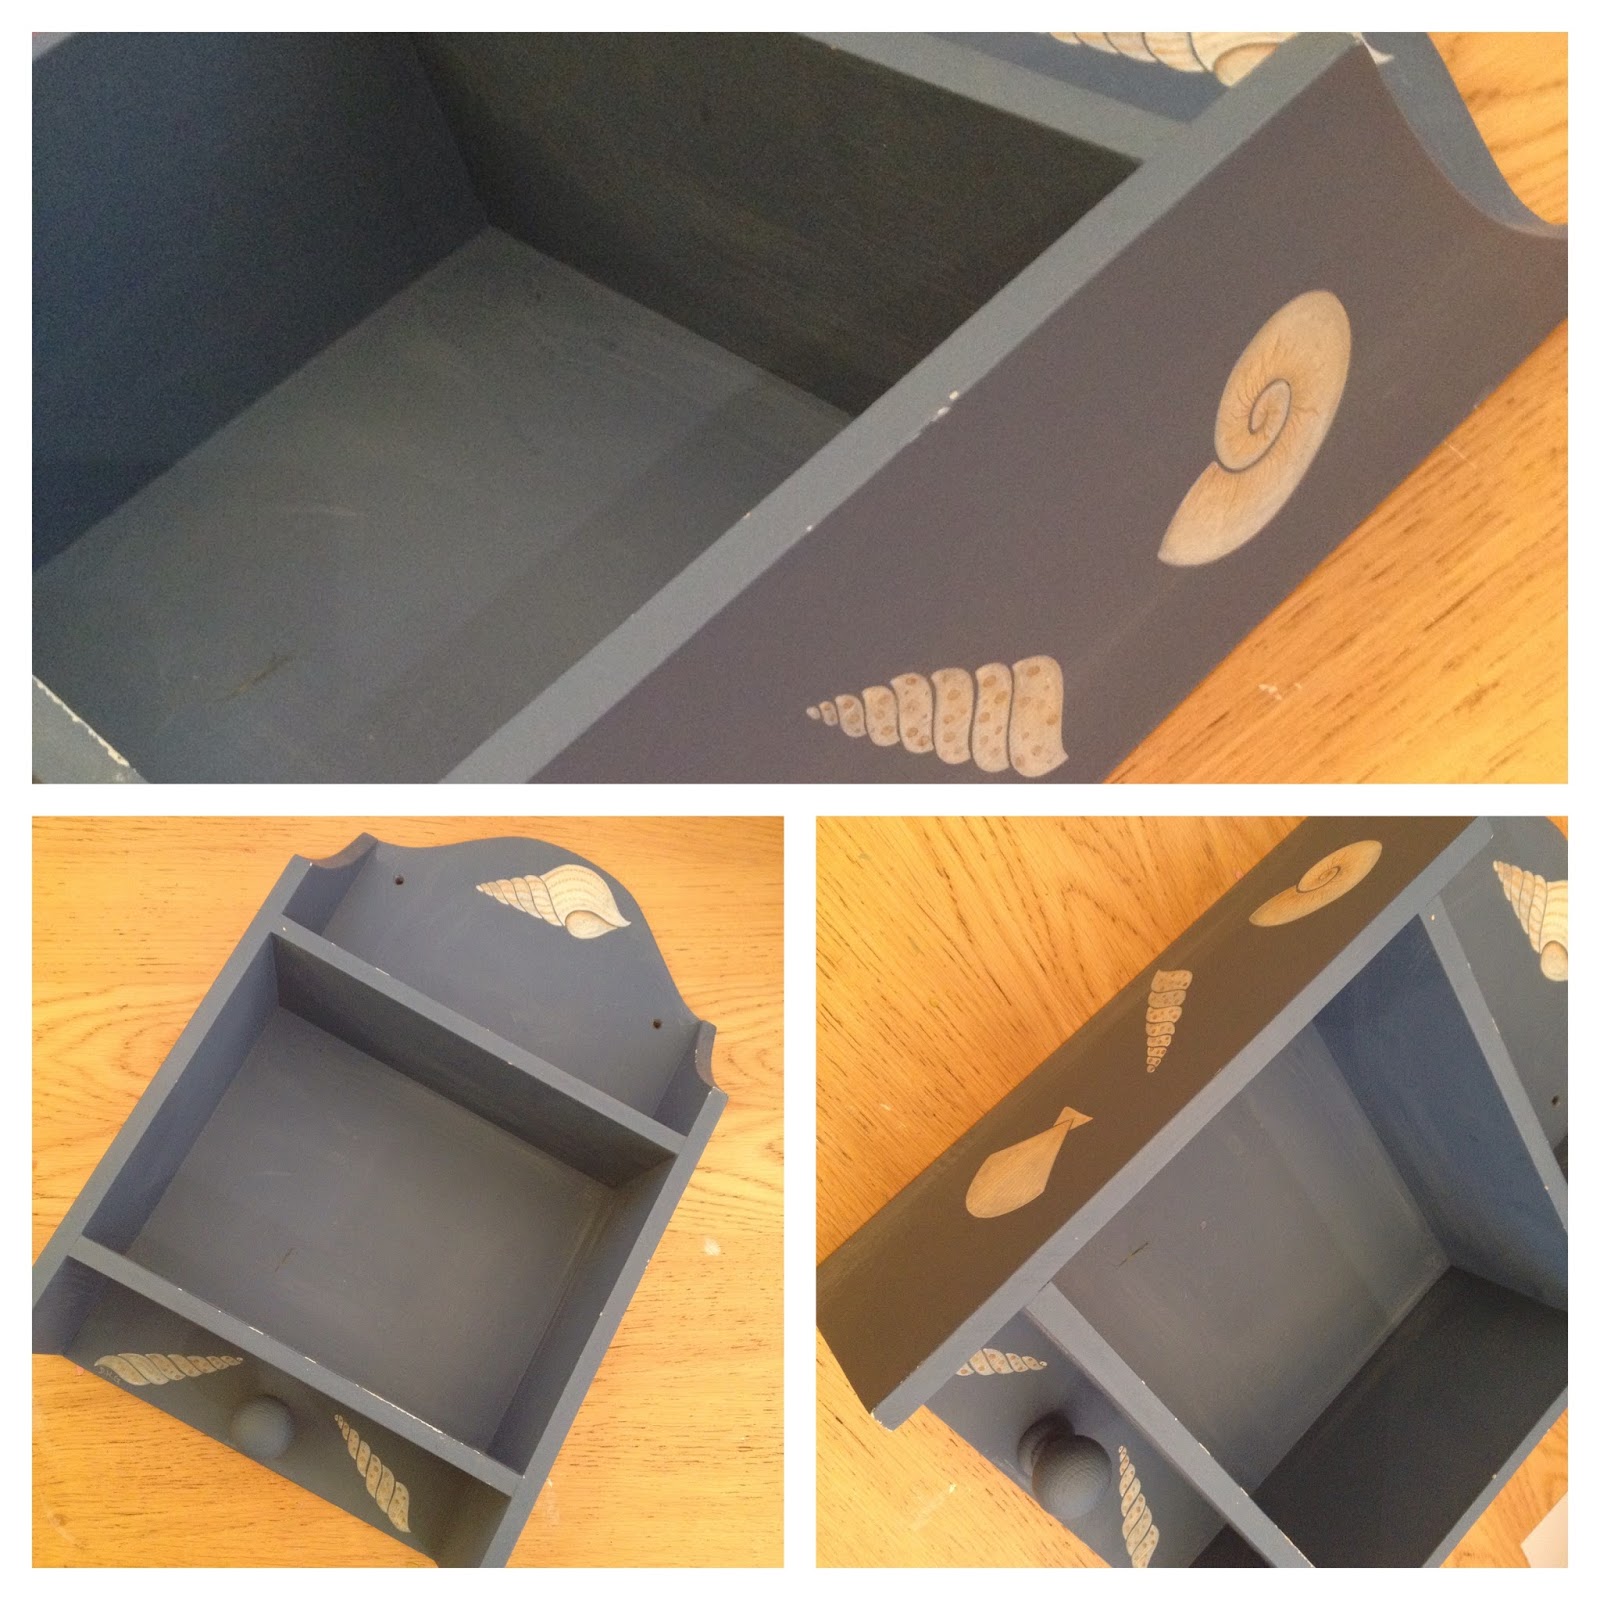
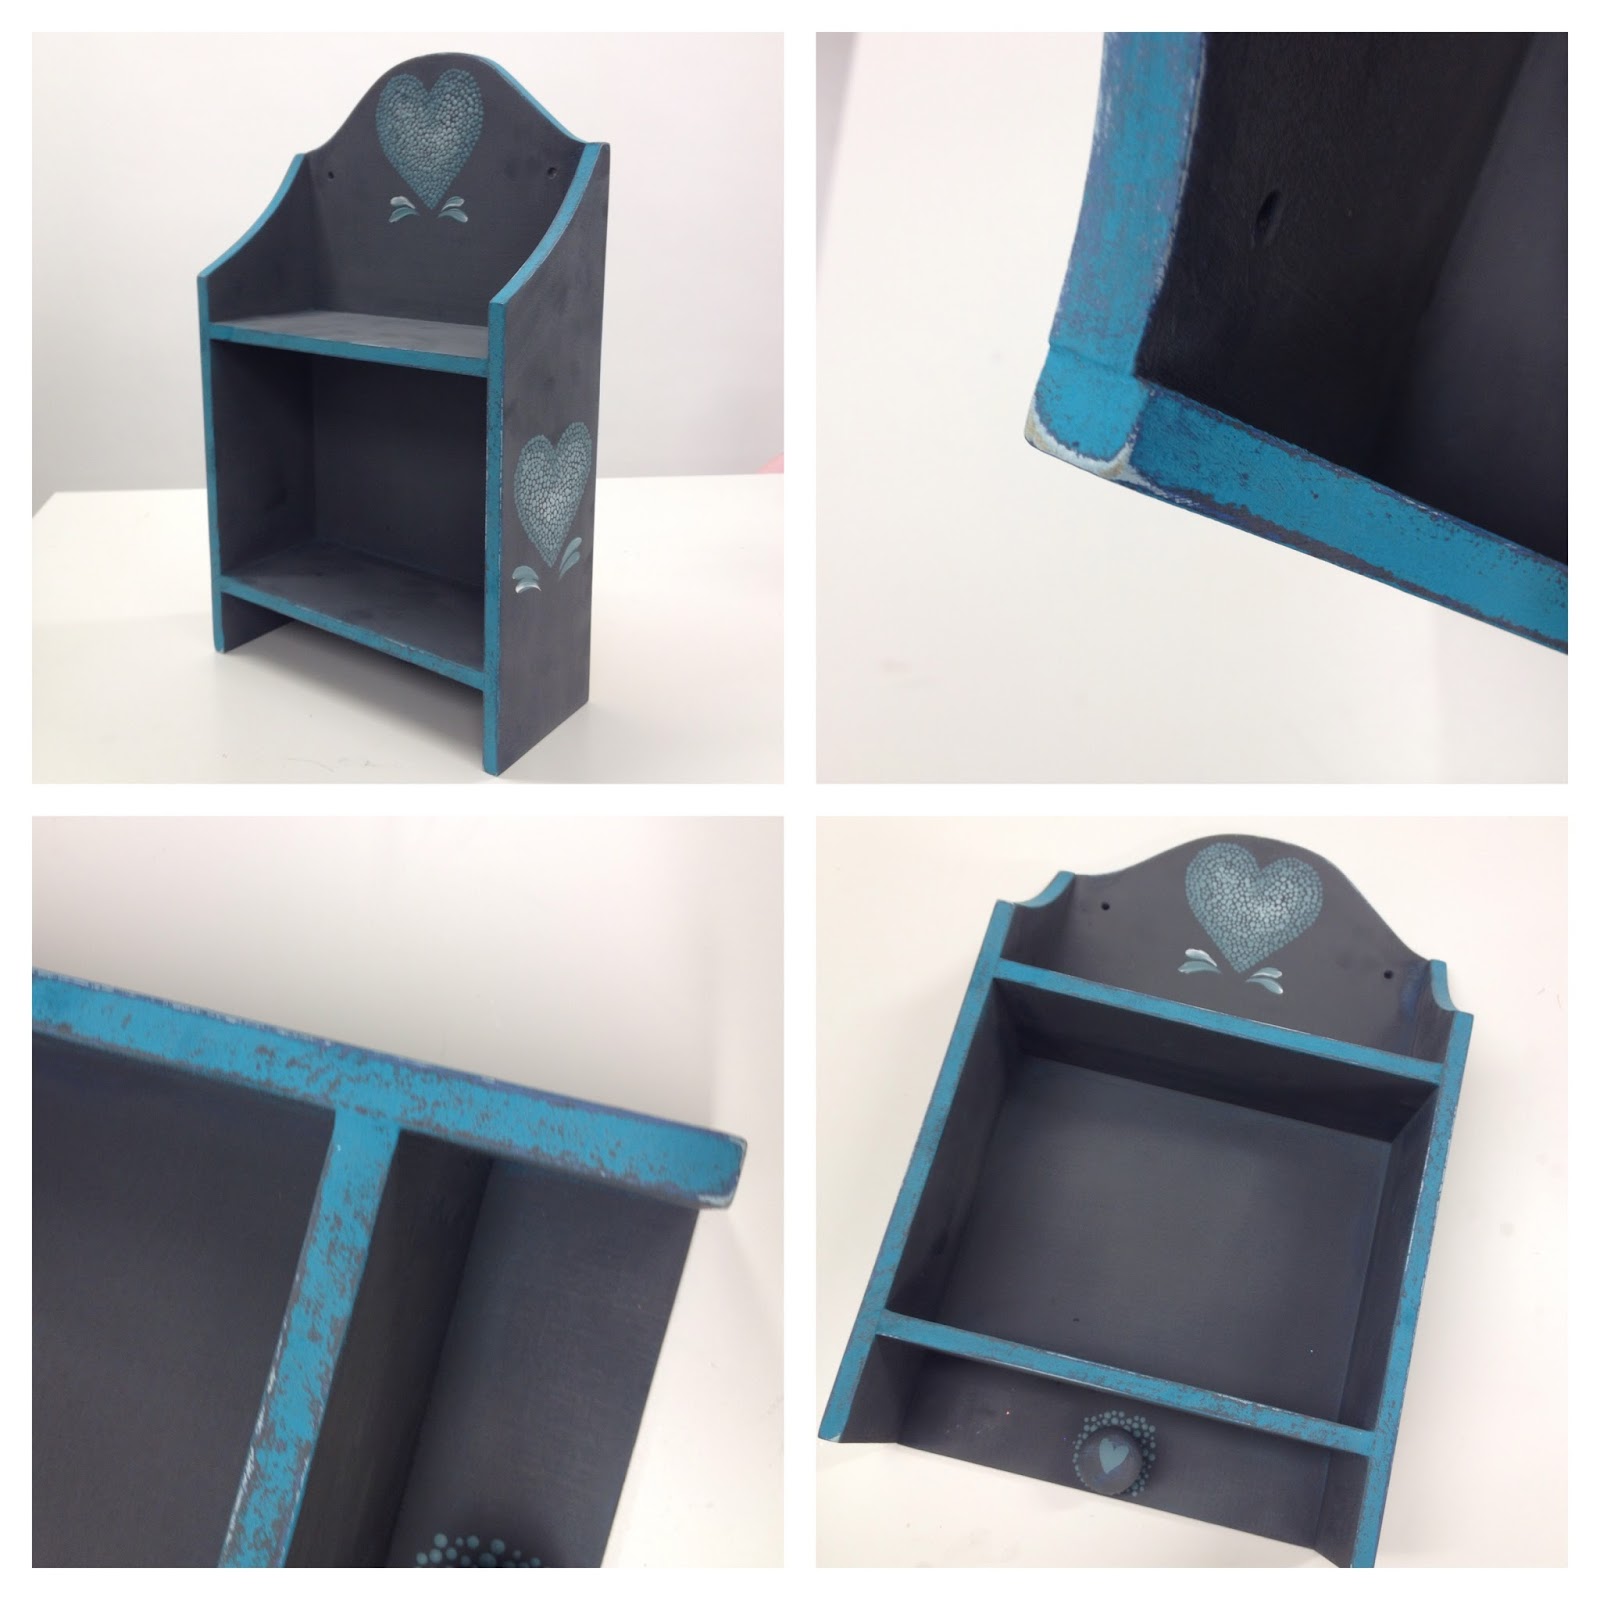
things. So whether you prefer the beautiful Sweetheart designs, classic wreath patterns or festive baubles, there is a kit for everyone.   Even if you believe you can’t paint, you can! 


Welcome to the first step on your creative journey. Take time out from your day to have fun and dot it! 

Start with one dot and see where the dots will lead, after all, it’s about the

journey, not the destination.

Happy Painting
The You Can Folk It! Team x
SHARE:

Monday, 28 September 2015

Beautiful and easy dot inspired makeover


Makeover tutorial

Moving house can be exciting and stressful in equal measure. For some of us, it means moving into the house of our dreams where every room matches our tastes. For some of us, we know our home is going to be a work in progress and there are many projects that are on our 'to-do' list. 

One of the best parts of moving home is inheriting items that you wouldn't have thought of buying before but there are also items that needs a bit of TLC.  Our most recent project was one of these items. One of our friends was discussing her new home the other day and mentioning how they didn't have the cash to update the dated decor. One of her solutions for now was to check out the sales and buy new accessories - much needed towels, toothbrush holders and mats.  When we saw this cute little shelf that she wanted to throw out, we had to step in and rescue it. When we saw it we thought it would be the perfect project for a dotty design - something a bit different from what we've created before. As we have recently celebrated International Dot Day and have seen how versatile the humble dot is we thought we would use them here.
Here we've put together a quick guide to how we transformed it.  


You will need:

Small storage item of your choice

Folk It Starter kit Dotting tool
Heart template from our Series 1 Starter kit
Folk It No 3 Round brush (from our Starter kit)
DecoArt Chalky Finish paint - we used Relic and Treasure
to co-ordinate with accessories.
DecoArt Americana Acrylics - we used Baby Blue, Warm White and Lamp Black from the Starter Kit.
Roller brush
Flat brush for painting the corners
Fine sandpaper
Vaseline for distressing (optional) 


up-cycling, tutorial, shelves, shelf
The original shelf - complete with dated decoration

We have said it before but the beauty of DecoArt's Chalky Finish paint is that you do not need to sand or prep your project before you begin. As the shelf had been sat in an empty house for a while, we did give it a wipe down with a damp cloth to remove dust and grime. Once it dries, if you would like to distress your shelf, add a layer of vaseline to areas where you don't want the paint to stick. We began painting the shelf with the Chalky Finish paint in Relic, using an old flat brush to reach the awkward corners on the inside. Allow to dry.


Paint a second coat and allow it to dry, if you have applied Vaseline, using a dry cloth, now rub the areas where you have applied it to remove the paint.  Next, we transferred the template onto the shelf by placing the template in the area we wanted the design, placing the transfer paper chalk side down underneath the pattern and tracing over it with the small end of our dotting tool. We chose to add a heart on the top and sides of the shelf.


Next, using the old flat brush, we added one coat of Americana Decor Chalky Finish in Treasure to the edges of the shelf. Once it had dried, using the sandpaper from our Starter Kit, we rubbed areas of the shelf (including the small handle at the bottom) to allow the Relic grey through. (Again, if you used Vaseline on these areas, you would simply rub off the paint instead with a dry cloth). In some areas, we kept sanding to reveal small patches of the original colour through too.


Decoart, paint, shelf, up-cycle, re-paint, basecoat
The new shelf is now ready to decorate :)

Now comes the fun part! Using our template as a guide and working our way inwards from the edge we started dotting. We mixed our dark blue with baby blue and black and started with that but as we worked around the heart we kept adding white to lighten the colour. This meant that it created a lovely Ombre effect on the design with the lightest dots being in the middle.  To fill the heart we used a mixture of small and large dots using the tool. Once we had completed the hearts on the top of the project, we used exactly the same process for the hearts on the side.


We filled the heart with dots, using a dotting tool. A great project for up-cycling/furniture makeover. Add white as you go for an ombre effect
Filling in the heart was rather therapeutic and we were pleased with the overall effect. 
To finish the project, we added small comma strokes below the hearts to add a bit more detail but these are optional. You could add whatever extra details you wish. As we are always telling our Folkers to remember the little details, we painted a small heart on the little handle at the bottom and added dots around it.


Added detail from comma strokes for the dot filled heart
Adding detail to the completed hearts
Finally, the little shelf was unrecognisable and the Relic and Treasure really compliment each other. Thankfully, our friend is over the moon with it and is so happy she didn't throw it away.  The great thing about this project is that anyone can do it whether they Folk It or not. All you need is a bit of paint, patience and a dotting tool.

Makeover completed. A dot heart project anyone can complete
Our completed shelf. 


SHARE:

Friday, 4 September 2015

We are celebrating International Dot Day

We have all had those thoughts haven't we? Those thoughts that nestle in to our psyche and tell us that we aren't creative, that we couldn't possibly draw/paint/cook as well as we want to. Unfortunately, those voices often come from parents, friends or teachers and once they are there, they are so difficult to change. 
One teacher that understands the struggles we have with creativity realised that he needed a bit of assistance to convince his students that they were creative. On the 15th September 2009, Terry Shay bought Peter H. Reynold's book 'The Dot' into his classroom to share its story. In the book, a thoughtful teacher asks Vashti, a reluctant student who doubted her artistic ability, to make her mark. What begins as a simple dot develops into a journey of creativity. 
Our starter kit designs use dots to create beautiful and eye-catching designs. 

It is no coincidence that when we were creating our Series 1 Starter Kit we created beautiful and simple Folk Art designs that could be created using dots. From this dot, we can create roses, hearts and leave and no paintbrushes are needed. However, like Vashti, once you have started, you can experiment with those techniques and develop your skills using our other kits to include a series of brushstrokes, if you wish. 

Since that day in 2009, International Dot Day has been born and now (to date) 111 countries around the world celebrate this event. Millions have been inspired to discover their creativity starting with dots; from students to celebrities, they make their mark and the different directions this first step takes them in have been utterly astounding. 

This has become a huge event for teachers and educators around the world and you can download resources to help you plan mark making in lots of subjects beyond just Art. With the availability of social media, classrooms are even connecting via Skype to share experience. 
This year, we are so excited to be celebrating international Dot Day for the very first time and we hope you will join us. Over the next few weeks, we will be creating projects and inspiration using dots (in whatever form they take) and we challenge you to do the same. Even if you have only just discovered Folk It, pick up your Starter Kit and make your mark. Believe you are an artist - everyone has the potential to be creative, it can begin with a simple dot. 

CREATE & SHARE
We would love to see your creations. Why not share them with us on Facebook or email us at hello@folkit.co and we will be sharing lots of dotty projects on the 15th (and after) to celebrate creativity. 

We hope you're as excited as we are! 
SHARE:
© You Can Folk It!. All rights reserved.
designed by pipdig