What you need:
Card/envelope/mountboard (or bauble mount board)
Tracing paper & transfer paper*
Flat Brush, Medium Liner Brush and Dotting tool*
You Can Folk It Cupcakes painting kit
DecoArt Americana acrylics in Razzle Berry, Holly Green, Lamp Black and Titanium (Snow) White
Drying Time extender*
*All included in our Flat Brush Starter Kit
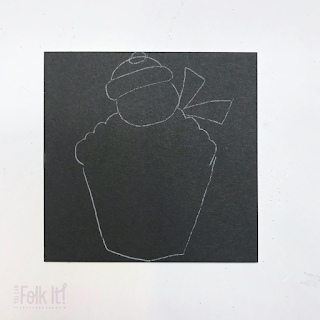
Step 1: transfer our Snowman cupcake pattern to your surface. This will fit perfectly on one of our square mount boards or baubles.
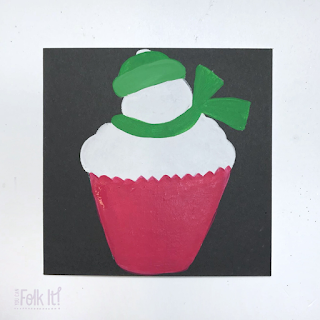
Step 2: To help the colours on your final piece pop, base coat the entire area of your design with white using your flat brush.
Step 3: Transfer the lines you need back onto the painted area.
Step 4: Using your flat brush again, base coat the cupcake wrapper in red and the top of the snowman's hat using Green. Before base coating the rim of the hat and the scarf, add a little white to make it just slightly lighter.
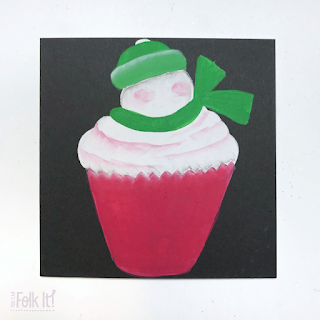
Step 5: Using the Razzle Berry, float colour onto the cupcake to add texture, just as you would in our cupcakes kit. Don't forget to add rosy cheeks too!
Step 6: Using white, float colour around the base of his hat to highlight it.
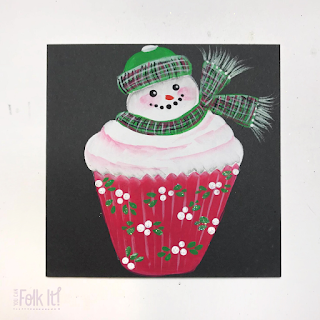
Step 7: Using your liner brush, add a pattern to his scarf and hat. Begin with Razzle Berry and Black before adding white lines, edging and tassels. (Don't forget to add a little bobble on his hat too!)
Step 8: Using the large end of the dotty tool, add his eyes and mouth. Using the small end, add two dots of white to each eye. Add his carrot nose using the liner brush (or you can apply it using the dotting tool)
Step 9: Float white lines on the cupcake (as shown in our kit) and add berries to the area using the dotting tool.
Step 10: Apply Crystal Glamour Dust to the design as you paint to create that all important sparkle at winter time.
Don't fancy making a card? Why not try adding it to one of our baubles?


No comments
Post a Comment