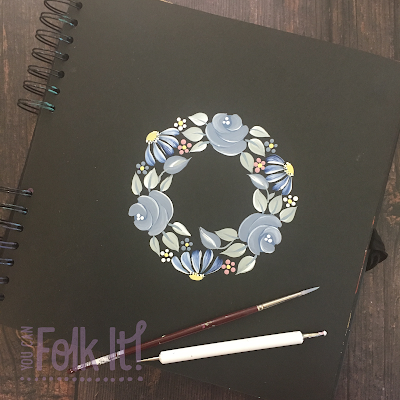
We have certainly seen the attraction of wreaths since launching our Folky Christmas kit a few years ago. There is something so relaxing about layering up the different shades of paint and creating the wreath design to create a beautiful festive greetings card. However, what was once a symbol of the Christmas period has now become much more versatile. Whether they are made of flowers, ribbon, photos or pom poms, there is a wreath for every style and every occasion and this is also becoming the case for those wreaths we paint.
For our #funwithfolkit painting challenge this month, we have been focusing on wreaths and it is clear that this has captured the imagination of so many of you. If you don't fancy creating your own classic foliage wreath from our Dotty Collection painting kit, we thought we would put together a few steps to help you create your own painted wreaths using the kits you already have.
First, mark out where your largest flowers will be. Here we began with roses arranging them around the circle.
Step 3: Next, because we had enough space, we rotated our design and added three daisies before adding leaves with our round brush (again, adopting the rule of 3 to add leaves to each side of the roses). Remember: You can work slightly inside and outside of your guide (as we have in the placement of the leaves) but always try to stay close to your original guide to prevent a wonky or uneven wreath!
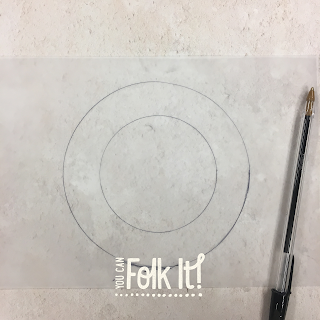
When creating a wreath, you may be the type of person who likes to plan where you will add each element. To do this, you can draw out a pattern in a sketch book to trace and transfer it to your painting journal. The important thing is that you find a process that suits you.
Step 4: Once you have added the larger flowers and details, take a look at your wreath to see where there are gaps and fill with smaller details like dot flowers, rosebuds, a sprig of lavender or berries....anything that takes your fancy.
Step 5: Once your wreath is complete, sit back and admire!
If you have created it as you paint and would like to keep the pattern, leave your design to dry before covering with transfer paper and drawing out a rough guide of where everything is. As you can see, we have traced within the edges of the painting. This means that when you come to paint it, you will cover the lines you have transferred. This is a great way to build up a collection of patterns and it means that you can try it again using different colours.
We'd love to see your finished wreaths - tag us in your social media posts and use #funwithfolkit
Happy Folking xx


No comments
Post a Comment